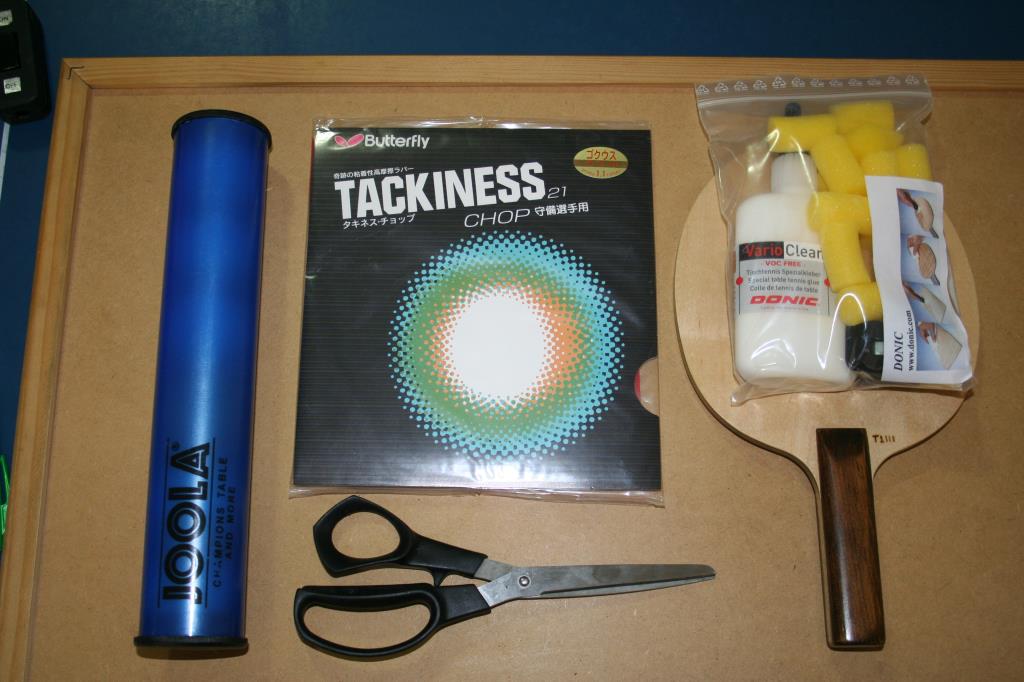
Get Those Suckers To Stick
How do I glue my new table tennis rubbers onto my blade?

This is one of the most common questions asked by new ping-pong players. And with good reason, since table tennis rubbers aren’t cheap, and you don’t want to ruin a rubber by making a mistake when trying to attach it to your blade, do you?
In this article I’m going to walk you through the process of gluing a sponge rubber onto your table tennis blade. I’ve included a video demonstrating how I glue my sponge rubbers, so I would recommend taking a look at that first, since it will make the explanation I’ve written below easier to follow.
How to Glue Your Sponge Rubbers to Your Table Tennis Blade – Video 320×240 pixels, 15MB
How to Glue Your Sponge Rubbers to Your Table Tennis Blade – Step By Step
- The main point of the whole process is to get a thin layer of glue on the whole of the sponge and on the blade, so that you get good adhesion between the two surfaces. Do that right and you can’t go far wrong with everything else.
- If you have old rubbers on the blade that have to be removed, peel the old rubbers off the bat diagonally. Never try to remove a rubber vertically (from handle to tip) since it’s possible you might take splinters off the blade, depending on whether the blade is sealed.
- If the blade isn’t sealed, I would recommend sealing your blade first before gluing your new rubbers on.
- Wipe the blade several times with your hand or a soft cloth, in order to remove any bits of glue left on the blade – you’ll feel the residue easily. A bit of gentle rubbing will get rid of any leftover glue.
- Put the rubber with the topsheet face down on the table (on a piece of clean paper or plastic to stop the surface picking up dust). Don’t forget to put some newspaper or plastic on the table to catch any spilt glue. Then just place the blade on the sponge in the position you would like it to be, and draw round it with a pen or pencil onto the sponge. Make sure the logo on the rubber is placed next to the handle.
- Open the tube of glue (any non-speed glue from a reputable table tennis manufacturer will be fine), and a folded small piece of paper (or paintbrush if you prefer), and put some glue on the sponge, spreading it around with the piece of paper. Go a little outside the outline of the blade on the sponge, since you never seem to put it back exactly inside the outline (at least I don’t!), and you don’t want the edges of the rubber to peel up later due to lack of glue. Make sure you cover the whole inside of the outline with a layer of glue, which will soak into the sponge pretty quickly.
- Follow the same procedure with the blade, giving the whole blade a thin covering of glue. You may need to angle the blade a bit against the light to see if you have missed any spots.
- As soon as you have finished gluing the blade, put the sponge back on the blade, and use a roller to gently press down on the rubber to make sure it is firmly attached. Some players prefer to wait until the glue on both the sponge and blade is dry, but I’ve always put them on once I finish gluing the blade, and I’ve never had any problems. Feel free to try it both ways, and do whatever works for you. (Note: For most modern water based glues, it is necessary to wait until the glue dries on both the sponge and the blade. Generally these glues are white when they are wet, and go clear when they are dry. I had to learn the hard way that you don’t always get good adhesion if you put the rubber and blade together when water based glues are still wet).
- Now put the racket in a bat clamp or under a thick stack of books to keep the rubber pressed firmly on the blade while the glue dries.
- After half an hour or so, cut the excess rubber from the blade with a sharp pair of scissors (or a Stanley blade or hobby knife). If you are going to cut the rubber with a knife, make sure you have plenty of scrap paper under the racket, so that you don’t accidentally cut into your table!
- If the edges of the rubber have pulled up a little due to the cutting process, put the bat back into the clamp for a few minutes to press them down again.
- That’s it! Your new rubber is ready to go. In the old days, if you were planning to play in an ITTF sanctioned event, you had to give the rubber a couple of days airing to allow any illegal VOC’s in the glue to evaporate. Otherwise you risked disqualification. Modern water based glues don’t contain VOC’s, so there is no real need to air out your bat these days.

